


The Beginner’s Guide To Getting Eye Make-Up Right
6 minutes read
The internet is not always the best guide if you’re a beginner trying to learn how to do eye make-up. There are thousands (maybe millions?) of tutorials out there and just as many products on the market. Do you need to watch them all and fill your cupboards with countless eyeshadow palettes? If you want to, you could, but you certainly don’t need to.
Eye make-up doesn’t need to be complicated. If your goal is to enhance your eyes (and have a bit of fun), you only need a few products, minimal skill and a bit of practice. Here’s our expert-backed guide on how to get eye make-up right, for absolute beginners.
Eye make-up: the beginner’s toolkit
While playing around with a neon eyeliner and glitter pigment may be fun, you don’t need to own everything from the get-go. Instead, invest in the basics. All you need is…
1. A well-formulated eyeliner
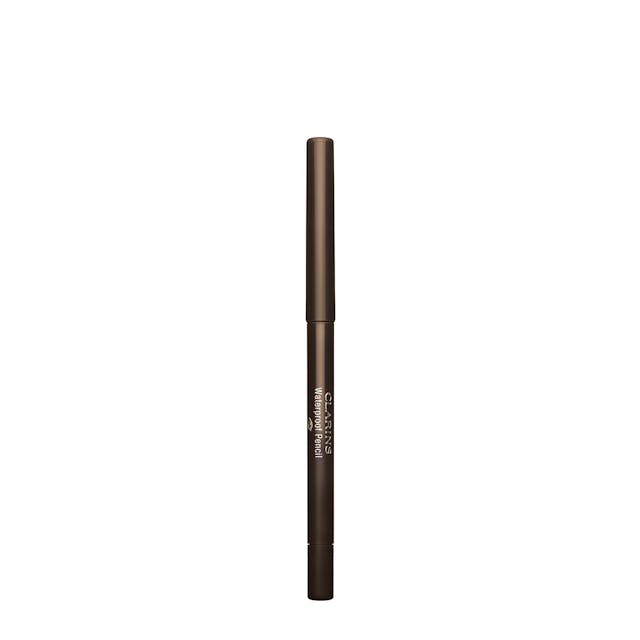
If you love the look of liquid liner, it’s worth investing in a felt-tip pen like the Graphik Ink Eyeliner, £22. But for beginners, we highly recommend choosing pencil liners. They’re easier to use and can be blended and smudged to create various looks. An eyeliner pencil with a waterproof formula in black, grey or brown will be the most useful product in your make-up bag.
2. An eyeshadow or two
Charlotte McHale, Clarins Training Manager believes in the power of “a good quality eyeshadow palette that goes with everything! A great one is the Clarins Brown Sugar palette, £36, which suits all eye colours and skin tones,” she says.
You don’t need a 15-pan palette in your starter kit. If your go-to look involves just a simple wash of colour on the eyelids, even a single eyeshadow will work. Cream textures are great for this.
Try: The Satin Shadows, £20, come in a range of flattering shades and have a creamy, long-wearing formula.
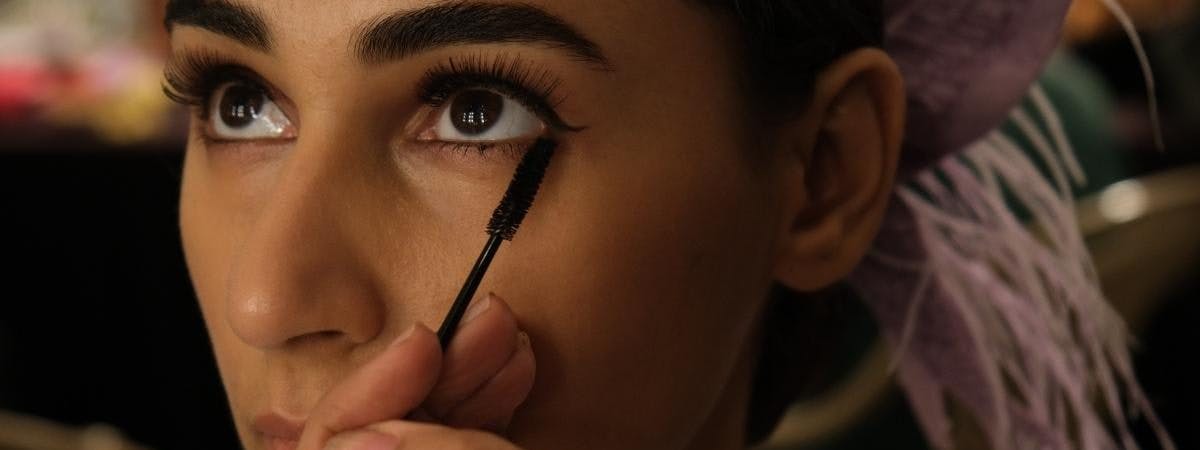
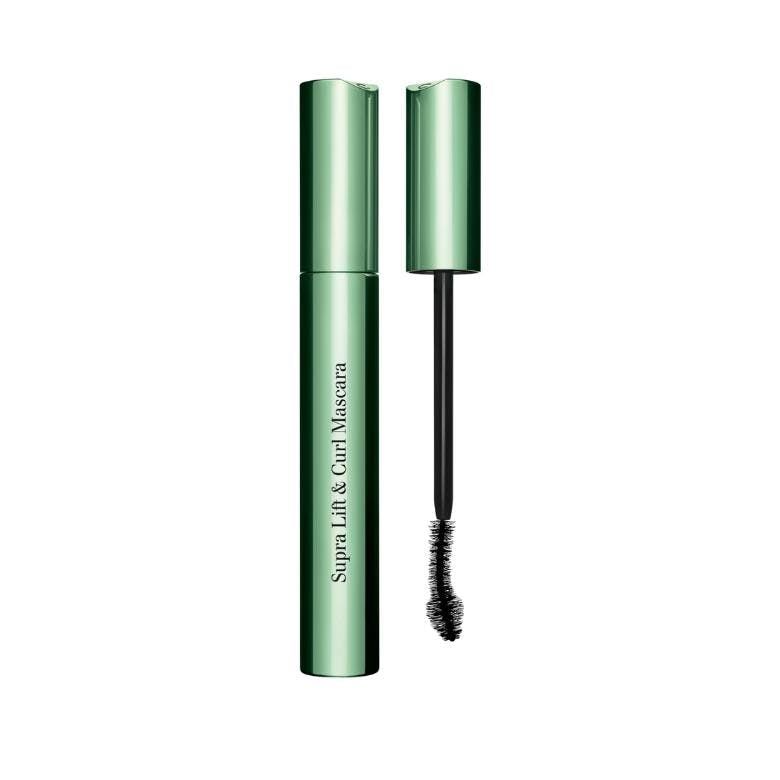
3. A mascara that suits your needs
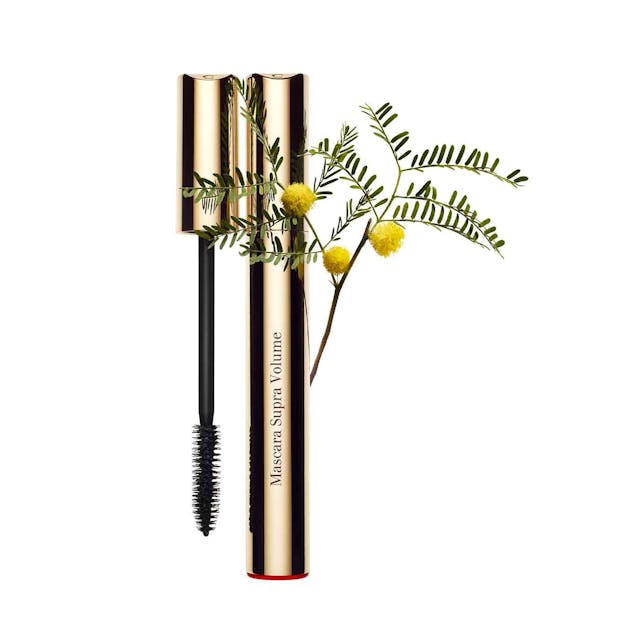
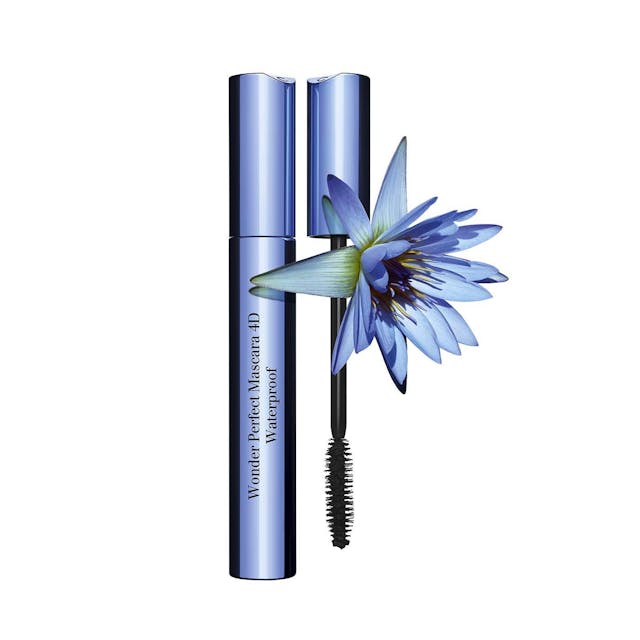
A little bit of mascara through the lashes elevates even the simplest eye make-up, so it’s good to choose the one you like. McHale is a fan of the Supra Lift & Curl Mascara, £23. Pick a waterproof formula if you have oily eyelids.
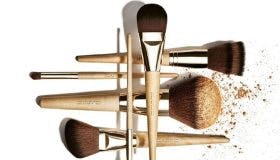
4. Three good brushes
It’s better to own just a couple of high-quality brushes than a large variety of mediocre ones. A good brush will blend eyeshadows seamlessly, feel comfortable on the skin, and last you years.
London-based make-up artist Tamara Tott recommends investing in three key brushes for the eyes: a flat eyeshadow brush, a blending brush and a small detailing brush.
5. An eyelash curler (optional)
An eyelash curler can make all the difference, especially if your lashes are spiky and straight. Curling them will lift the lashes and reveal their true length. We love the Kevin Aucoin Eyelash Curler, £17, that fits various eye shapes and creates a natural-looking curl.
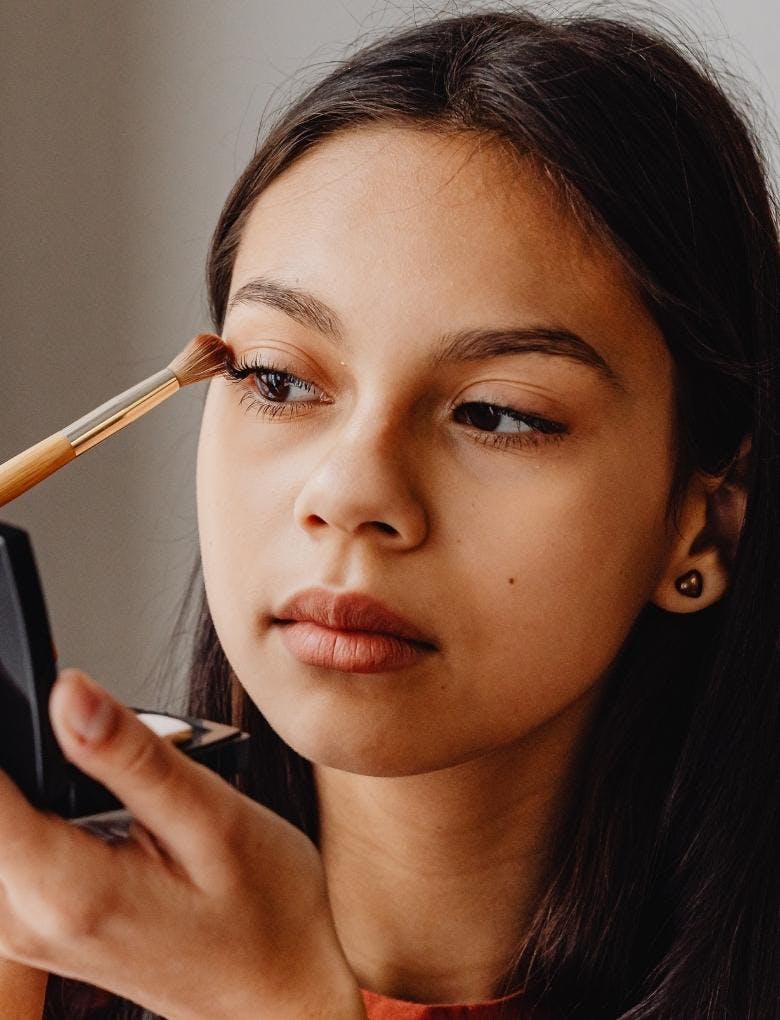
How to apply eyeshadow: easy tips to remember
Prime your lids
Want your eyeshadow to apply evenly and last the day/night? “Use an eye primer first,” suggests Tott. “This will help your eyeshadow stick on the lids better and last longer.”
The NARS Pro Prime Eyeshadow Base, £21 works well to prevent smudging and creasing. If you don’t have oily eyelids, you could also prime with a dab of concealer.
Keep it simple
If you’re just after some subtle definition, go for a no-frills approach. As McHale puts it, “simple eye make-up done well is far better than complicated eye make-up done badly.”
Use a single flattering shade to create a wash across the eyelid. “Apply it all over the movable lid and slightly above the crease,” she advises.
The shade you choose could be a neutral brown, shimmery gold or even a bold blue – it’s up to you!
Ace your transitions
Want to advance to using two or more shades? Remember to use transition colours. “Take your time and transition through dark to light shades in small increments,” says McHale. “Unless you’re skilled, blending a very dark and very light shade next to each other with nothing in between can look very unnatural. Using an in-between tone will help the transition.”
Blend, blend, blend
Perfectly diffused edges are the secret to creating an effortless eyeshadow look. “For a smokey finish, start by applying lighter nude colour all over,” recommends Tott. “Then, darken where needed. This will give you better bending control.”
She adds: “Don’t add the darkest colour right away – if you are not careful, you can make a mess! Instead, darken gradually and work in layers. Pop highlights in the end, after the shadowing is done.”
McHale shares a trick for seamless edges: “just sweep a loose face powder that matches your skin tone along the edges of your eyeshadow.”
Avoid eyeshadow fallout
Eyeshadow fallout refers to the layer of pigment that can drop from your brush and settle on the tops of your cheeks. If this happens, the only solution is to wipe it off with a make-up remover and redo any foundation and concealer you may have previously applied.
The better method is to avoid fallout at all costs. “For the inexperienced, do eyes before base in case you need to clean up any product fallout under the eye,” says McHale.
If you struggle with product fallout, Tott recommends investing in a different eyeshadow that doesn’t drop as much. She also suggests trying cream eyeshadows.
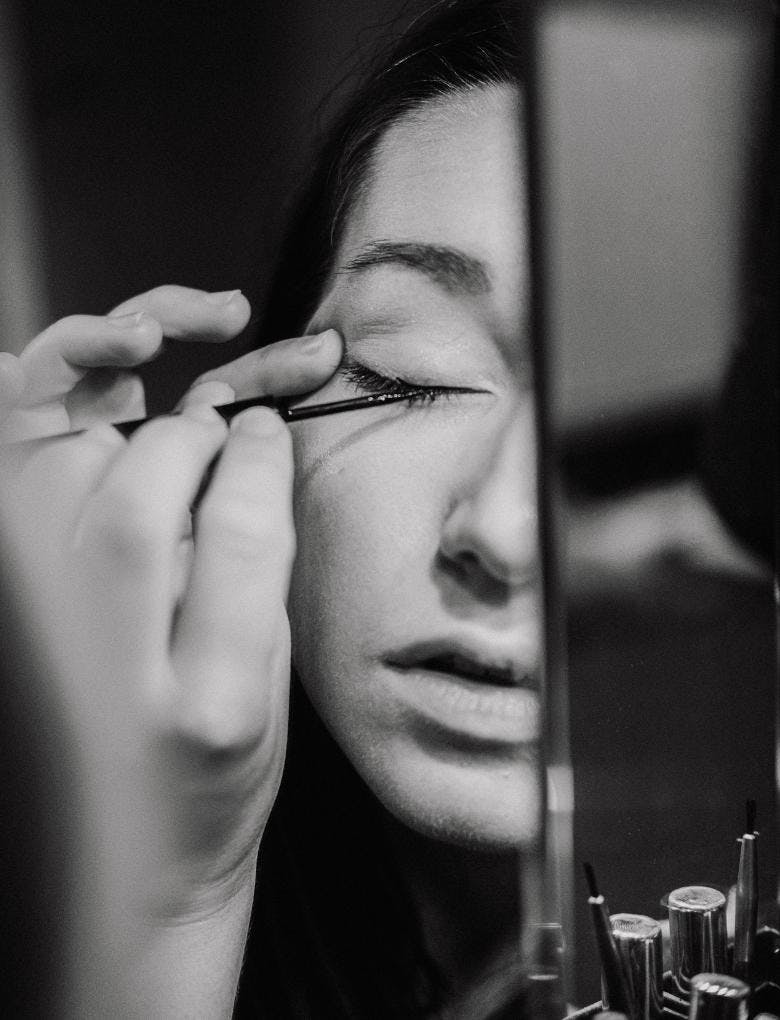
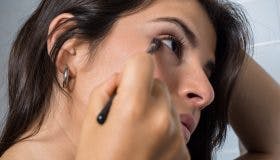
How to apply eyeliner like a pro
Define the lash line
Have you heard of invisible eyeliner? It’s a technique where you line your eyelids very close to the roots of your lashes with an eyeliner pencil. This gives the illusion of fuller lashes and also defines the upper lash line without having to be a precise line.
McHale recommends applying the liner from under the lashes. “I hardly ever put eyeliner above my upper lashes nowadays,” she says. “Always underneath, and I don’t mean the upper waterline. I scribble along the roots of the lashes.”
Go slow
You don’t have to apply your eyeliner in a single stroke. Instead, sketch the shape slowly. Make-up artist Roseanna Velin suggests breaking down the process into small, simple steps.
“Try drawing it in smaller brush strokes – around 1cm at a time and connecting it as you go,” she says. “This is easier, especially on a delicate area like the eye where the skin tends to move while you sketch the line.”
Compare both eyes
Velin also recommends working on both eyes simultaneously instead of completing one before moving on to the other. This helps ensure they’re as similar as possible. Of course, you don’t have to get hung up on making them match perfectly. Even the pros agree that some variations between both eyes are inevitable.
Erase your errors
That’s the best part about make-up – you’re allowed to make mistakes. If your wings have gone a bit off balance or you’ve smudged some eyeliner, all you need is a cotton bud dipped in some make-up remover. Use this to clean up or sharpen the wing on a cat-eye.
Tip: Instead of regular cotton buds, make-up artists swear by narrower alternatives for more precision like these ones by Muji.
Want to learn how to create the perfect winged liner? Read: Winged Eyeliner for Beginners: A Cheat Sheet
Skin & Beauty

Easy Ways To Get Rid Of Dead Skin From Your Feet
The 20 Golden Rules of Skincare


Editor's Choice

Beauty Daily Staffers Reveal Their Flight Skincare Routine


LED Face Masks: All Hype Or Skin Hero?


Sign up for our newsletter
We will keep you in the loop for special offers, exclusive gifts and product news.