


Ace Your Base: How To Do Foundation To Contour And Bronze
4 minutes read
Contouring: that tricky TikTok/Insta beauty trend that surfaced a few years ago has now been replaced by ‘soft-sculpting’. Make-up pros have been perfecting this backstage at the shows and on celebrity shoots for the past few years. So forget harsh lines, stripes of brown, greige and tan. Instead, choose a foundation one or two shades darker to contour and bronze, and it will mimic your skin.
It sounds fiddly – but even beginners can master the basics. Beauty Daily has your complete soft contour guide so you can sharpen your sculpting skills.
Contouring with foundation
We know that contouring can be a scary step to take in your make-up routine but it’s easier than you may think. Here we answer your most pressing questions:
Do you contour before or after foundation?
Primer first, then foundation and then you begin the contour.
Prepping for contour and bronze
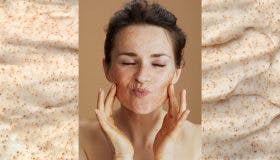
Practise during the day in natural light; then, you are less likely to make mistakes.
Pull your hair away, so you have access to your hairline, forehead, temples and the sides of your face.
When sculpting your features, you need to play with shadows and light. So the more you practise where to contour, the easier it will become.
Examine your face in the mirror and decide which features you want to accentuate or diminish. Perhaps you’d like to contour your nose? Maybe you’d prefer to have a slimmer face? A more refined jaw? Higher cheekbones?
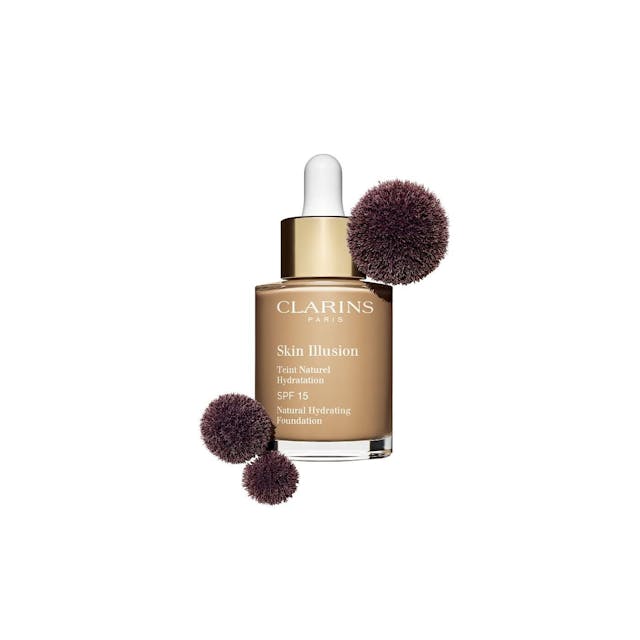
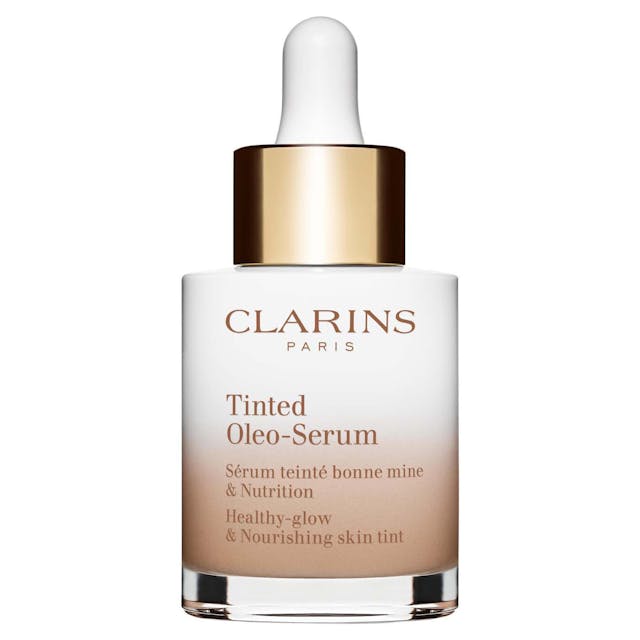
Use products with the same texture to achieve the most natural effects, so your favourite foundations in varying shades would be a great choice.
Read: How To Apply Foundation Like A Pro
Contouring with light and dark shades
To highlight, take a foundation one or two shades lighter than your base and add to the high point of your cheekbone and the residue tapped lightly under the eye and down the bridge of the nose – stopping before the tip. Then a dab on the Cupid’s bow and the centre of the chin.
Imagine your features have cast a shadow. That shadow appears under your cheekbones, under your bottom lip, on the sides of your nose… That’s the shadow you are going to create with contouring.
The darker colour draws attention away from a facial feature, making it less noticeable.
What contour shade should I use?
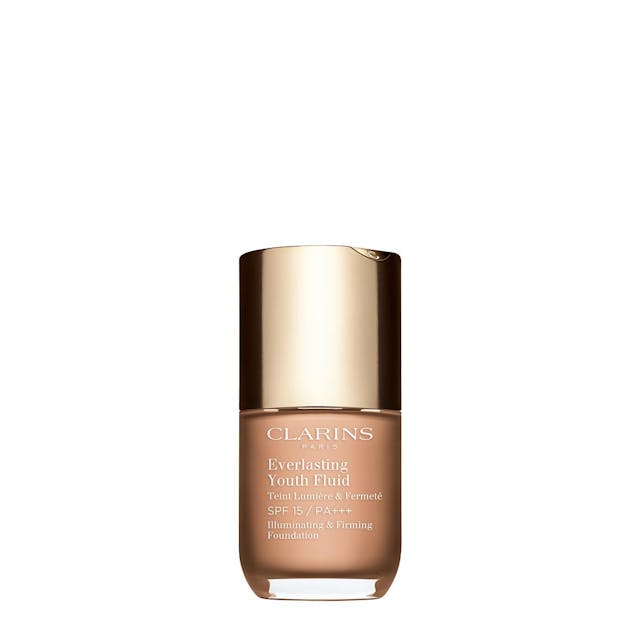
Clarins’ International Training Make-up Director, Eric Antoniotti, says: “The secret to getting contouring right is to choose shades as close as possible to your skin tone so that they blend naturally into your skin.”
We recommend only a shade or two darker than your natural skin tone.
Are contour and bronzer the same thing?
Contour should look more natural, more blended – like a second skin. Whereas bronzers should have an impact! Like you’ve been in the South of France or two weeks in the Caribbean – depending on your preference.
Bronzer warms the complexion. Add to those parts of your face which naturally catch the sun. (Forehead, nose, cheeks and chin). The bronzing compact’s three matte shades can be used alone or blended for a natural glow.
Choose the right tools. Make-up artists recommend contouring using a foundation brush or fingers when applying liquid formulations. However, if you use a powder or compact foundation – then employ a brush.

Can you use bronzer instead of blusher?
“No, because this makeup has another function,” says Charlotte McHale, Clarins Training Manager. “Blusher does a different job, so contour and bronzer shouldn’t be used as an alternative.
Blusher’s primary purpose is to give you a healthy glow as if you’d just been for a brisk walk. Choose a blush that suits your skin tone – as though you’ve naturally got excellent circulation and rosy cheeks. Make sure it blends nicely into your foundation for a natural effect.”
Contouring for beginners – the easy technique
Step 1: Apply the contour colour in the shape of the number ‘3’.
Step 2: Start at your hairline near the forehead – come in slightly above the hollows of the cheekbone and then move outwards; lastly, sweep towards your jawline.
Step 3: Want instant cheekbones? Pucker up your lips and suck in your cheeks – that sunken line you see? That’s where the darker colour should be used – blending just above the hollow for lift.
Final word: Get to know your face. Make-up artists train and perfect their skills, and that’s how you will become your at-home pro. Find what flatters your face and, after all, is said and done – blending is the most crucial step. No hard lines should be left – just an even-tone of 3D softly-sculpted features.
Skin & Beauty

7 Free Beauty Treatments You Might Not Know About

14 Facial Exercises to Tighten the Skin


Editor's Choice


LED Face Masks: All Hype Or Skin Hero?

What Is Red Light Therapy And Does It Really Work?

15 Cupid-Approved Valentine’s Day Nail Art Designs


Sign up for our newsletter
We will keep you in the loop for special offers, exclusive gifts and product news.