


Contouring 101: The Do’s, Don’ts And Everything In Between
6 minutes read
If you’ve ever spent some time observing portraits in an art gallery, you may have noticed how light and shadow are portrayed in paintings to create the illusion of dimension. This is a particularly useful exercise when you’re learning how to contour.
Just like highlighting emphasises certain features on the face by adding light, contouring makes certain features recede by creating false shadows. Together, they can subtly alter how your bone structure appears.
But learning how to contour correctly can be tricky, so we went straight to the experts. Here’s what you should know.

The difference between contouring and bronzing
It’s easy to get the two mixed up but they’re completely different techniques. “Sometimes people get contouring and bronzing confused because both involve a brown-looking powder. But other than that, they have nothing in common,” says Charlotte McHale, Clarins Training Manager.
She elaborates: “Bronzing is about changing the tone of your skin. It’s about making it look more sun kissed. So, bronzers tend to be more of a golden, warm tone. And sometimes they could have a tiny bit of shimmer in them as well. And they will be applied to the high points of the face, where you would naturally catch the sun.
“Contouring, on the other hand, is about creating shadows. It’s about getting certain parts of your face to recede.” So, the shades you use and the placement of the product will significantly differ.
How to choose the right shade of contour
Look around you and find a spot where a shadow is cast on a solid surface. Then, try to notice how it alters the colour of the surface. You will find that it adds a grey cast to whatever the natural hue of the surface is.
As everyone’s skin is naturally a shade of brown, contouring products are nearly always cool-toned browns – grey-toned coffees and taupes. And they’re always matte. The shade you choose should be a few shades darker than your skin tone.
London-based make-up artist Roseanna Velin also emphasises the importance of undertone. “To find the right shade of contour for you, you should understand your skin’s undertone and make sure that you’re working within it,” she explains.
Read: What is your skin tone?
Still unsure about the right shade for you? Velin recommends seeking advice from an expert at a make-up counter or booking a personal lesson with a professional make-up artist for a tutorial tailored for you.
How to contour: a step-by-step guide
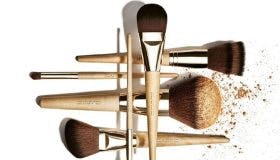
Your toolkit
First, find a contouring product you like – you can choose between creams and powders. Velin is a fan of the Fenty Beauty Match Stix Contour Skinsticks, £23. The creamy sticks are easy to use and blend effortlessly into the skin. Plus, there are 10 shades to choose from.
If you prefer a powder product (or want something more affordable), Velin recommends Sleek Makeup’s selection of contouring products, including the Face Contour Kit, £6.99 and the Face Form Contouring Palette, £9.99.
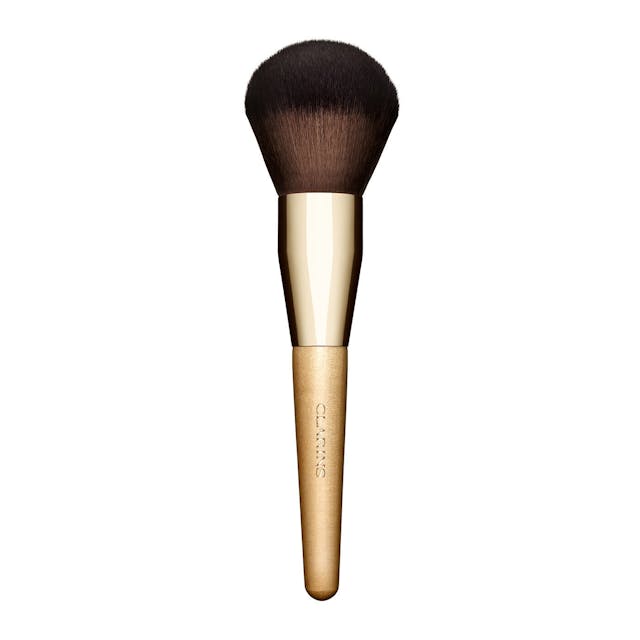
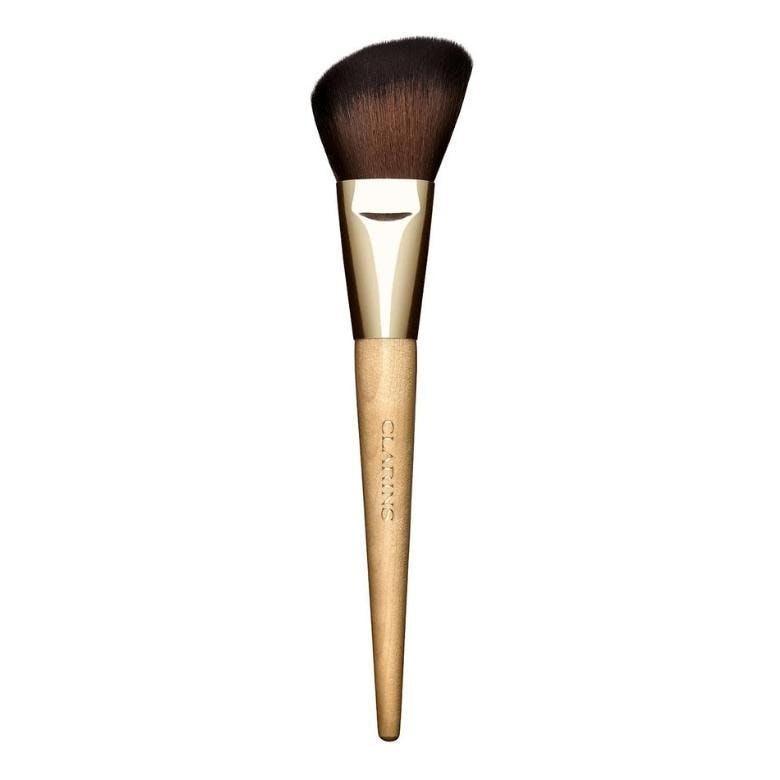
Second, you need a brush to blend the colour in. You can use an angled brush like the Blush Brush, £26. Alternatively, choose a thin, tapered brush like the Mykitco. 0.21 My Flawless Face Small, £18.50.
The application process
Once you know the areas of the face you want to contour, it’s all about technique.
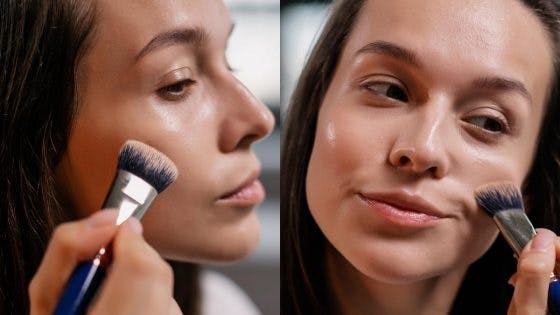
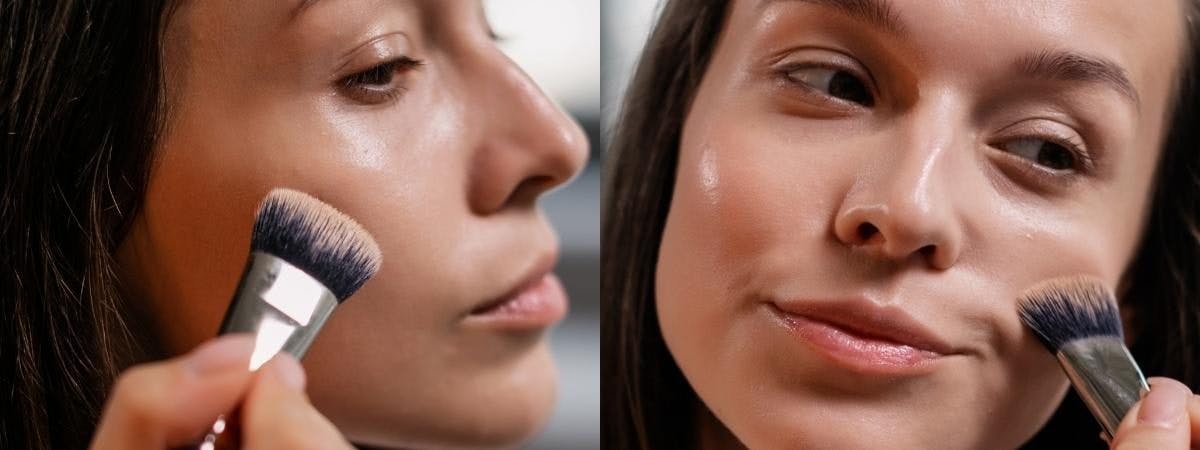
How to contour the cheeks
To make your cheekbones appear more prominent, apply the contour colour lightly along the hollows under the cheeks. Start close to the ear and concentrate most of the colour there. Feather it out as you move closer to the front of the face. It should be completely diffused about halfway down the cheek.
Make sure to use a light hand to ensure it looks natural. Use a clean brush to blend the edges well – you don’t want to see an obvious line.
How to contour your nose
Use a smaller brush for this – a fluffy eyeshadow brush would work. Sweep the colour down the sides of the nose. This can create the illusion of a straighter or thinner nose. You could also shade slightly under the tip of the nose.
Use a minimal amount of product to start with and go over it with a clean brush to blend it into the skin.
How to contour the jawline
To create the illusion of a sharper jawline, place the colour just under your natural jawbone and blend it into the neck.
How to contour the forehead
Skim the contour colour lightly along the hairline and in the temples. You can go over this with your bronzer to make it appear more natural.
What not to do
Now that you know how to contour, it’s also important to learn when not to contour. “A lot of the time, contouring is quite unnecessary for real life situations,” says McHale. “If not applied correctly, it could often just come across as grey make-up applied to various areas of the face. Or could look muddy.”
Contouring is useful to enhance your features if you’re being photographed in harsh, strong light. Or if you’re wearing quite dramatic, theatrical make-up, it can help create a dramatic, sculpted effect.
For real life, McHale suggests that bronzing may actually be the safer choice. While it will add warmth, if correctly placed on the face, it can also draw attention to certain features.
Read: The Easy Way To Bronze Up Now
How to contour with self-tanner
You may have heard of “tantouring” – a beauty trend that recently went viral on TikTok. It involves using self-tanner to create a semi-permanent contour. But does it work?
Yes and no, as McHale explains. “Expensive fake tan is made from two ingredients: DHA, which gives it an orange-tone and erythrulose, which adds a slightly red-y tone. Together, they create a nice, natural tan colour. Cheaper tanners tend to just use DHA which is why they tend to look more orange.”
But neither red nor orange are cool colours – which is the pre-requisite for a contour colour. “You can make darker patches on your skin,” says McHale, “but it will not look like a shadow.”
Self-tanner could, however, double up as bronzer. “Tanning generally can create more of a sculpted look,” says Velin. “The trick is to make sure you use a high-quality product with a realistic tan shade and apply it flawlessly to ensure there’s no obvious patches or streaking.”
McHale recommends using a fake tanner that’s formulated for the face and has a guide colour. “I would never attempt this with any clear tanning products – you would never be able to blend out the edges symmetrically,” she says.
“Just use the guide colour as your bronzer and blend it accordingly,” she advises. You should be left with a sun kissed look that also accentuates your bone structure.
Next reads: The Best Blush Colours For Every Skin Tone
Skin & Beauty

Pregnancy Skincare: What Ingredients To Avoid?

The Best And Worst Beauty Products To Wear Under The Sun


Editor's Choice

What Is Slugging? Expert Advice On The Viral Skincare Trend


What Is Red Light Therapy And Does It Really Work?


Sign up for our newsletter
We will keep you in the loop for special offers, exclusive gifts and product news.